Our Roots Weave Together Like Fresh-Baked Bread


This week, I challenged some of AARC’s expert bread makers to share their Challah secrets with the congregation – and they obliged! Everyone’s recipe has a special secret method that brings individuality to their loaves. However, just as the dough seamlessly weaves together, so does the common thread that binds these recipes. Every one of our star bakers brings love into their baking; that’s what makes their Challah so special.
Lori Lichtman brings love, meditation, and prayer into her baking. She learned from AARC member Jen Cohen!
My process includes meditating and bringing the Light of G-d through my crown, into my hands, into the dough and then I sing prayers into the dough. I sing Ahavah Rabah love prayer while kneading, then V’Erestich-Li Olam for binding to G-d while braiding, then Oseh Shalom for painting egg, and Peleg Elohim sprinkling the sesame seeds on top for abundance. I also sing healing prayers if needed or Shehekianu if it’s a celebration. Baking challah is a spiritual practice; it connects us to bring Heaven to Earth, connecting G-d with the Earth’s gifts of wheat and our role helping to transform these gifts to bring goodness to the world.

Lori has made many Challah variations, such as lavender for a gay or lesbian wedding, pumpkin challah for Challah-o-ween, and of course, Raisin Round for Rosh Hashanah.
Our next baker, Nancy Meadow, learned to bake Challah from her mother. Over time she has made it her own. Nancy says, “I use the word ‘recipe’ loosely here, as I vary it weekly, but this is a great starting place.”


There are as many challah recipes as there are challah bakers. You can vary the sweetness, the shape, the flour mix, or add-ins like spice, raisins, cherries, pumpkin, chocolate, etc. It is traditional for challah to be dairy-free (although I know some who use butter instead of oil). The eggs are a key ingredient, making this bread different than most others. The eggs should be the best you can find and should not be skimped on. This is how I make my basic weekly loaf.
Into bowl put, but do not stir:
1 C warm/hot water
1 Tbsp yeast
2 tsp sugar
Wait for yeast to proof, then add
¼ C vegetable oil
1/3 C sugar or honey (more for a sweeter loaf)
2 tsp salt
2 whole eggs plus one yolk
Stir until well integrated and then start adding flour ½ cup at a time. You can use all white bread flour or a mix of white and whole wheat. The more whole wheat you add, the more calories you burn while kneading. My weekly loaf has a good bit of whole wheat; my holiday loaves are 100% white, which is more traditional. Start with whole wheat and add white second. Once you have about 2.5 cups mixed in, let the batter sit for 20 minutes to let the yeast really soak into the flour. After this first rest, begin adding flour, no more than ½ cup at a time. Thoroughly integrate each new scoop of flour before adding more. At some point, you will need to remove it from the bowl and start kneading on a flat surface. Knead the dough for 12-18 minutes, adding flour as needed. In total, plan to use about 5-6 cups of flour.
Place dough in a greased bowl, cover with damp towel, place in cold oven with the light on for 1-3 hours. (The goal is a warm, dry place where the dough can rest without getting dried out.)
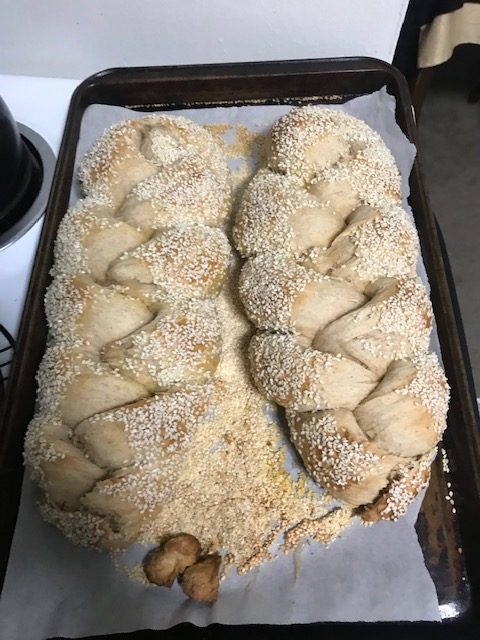
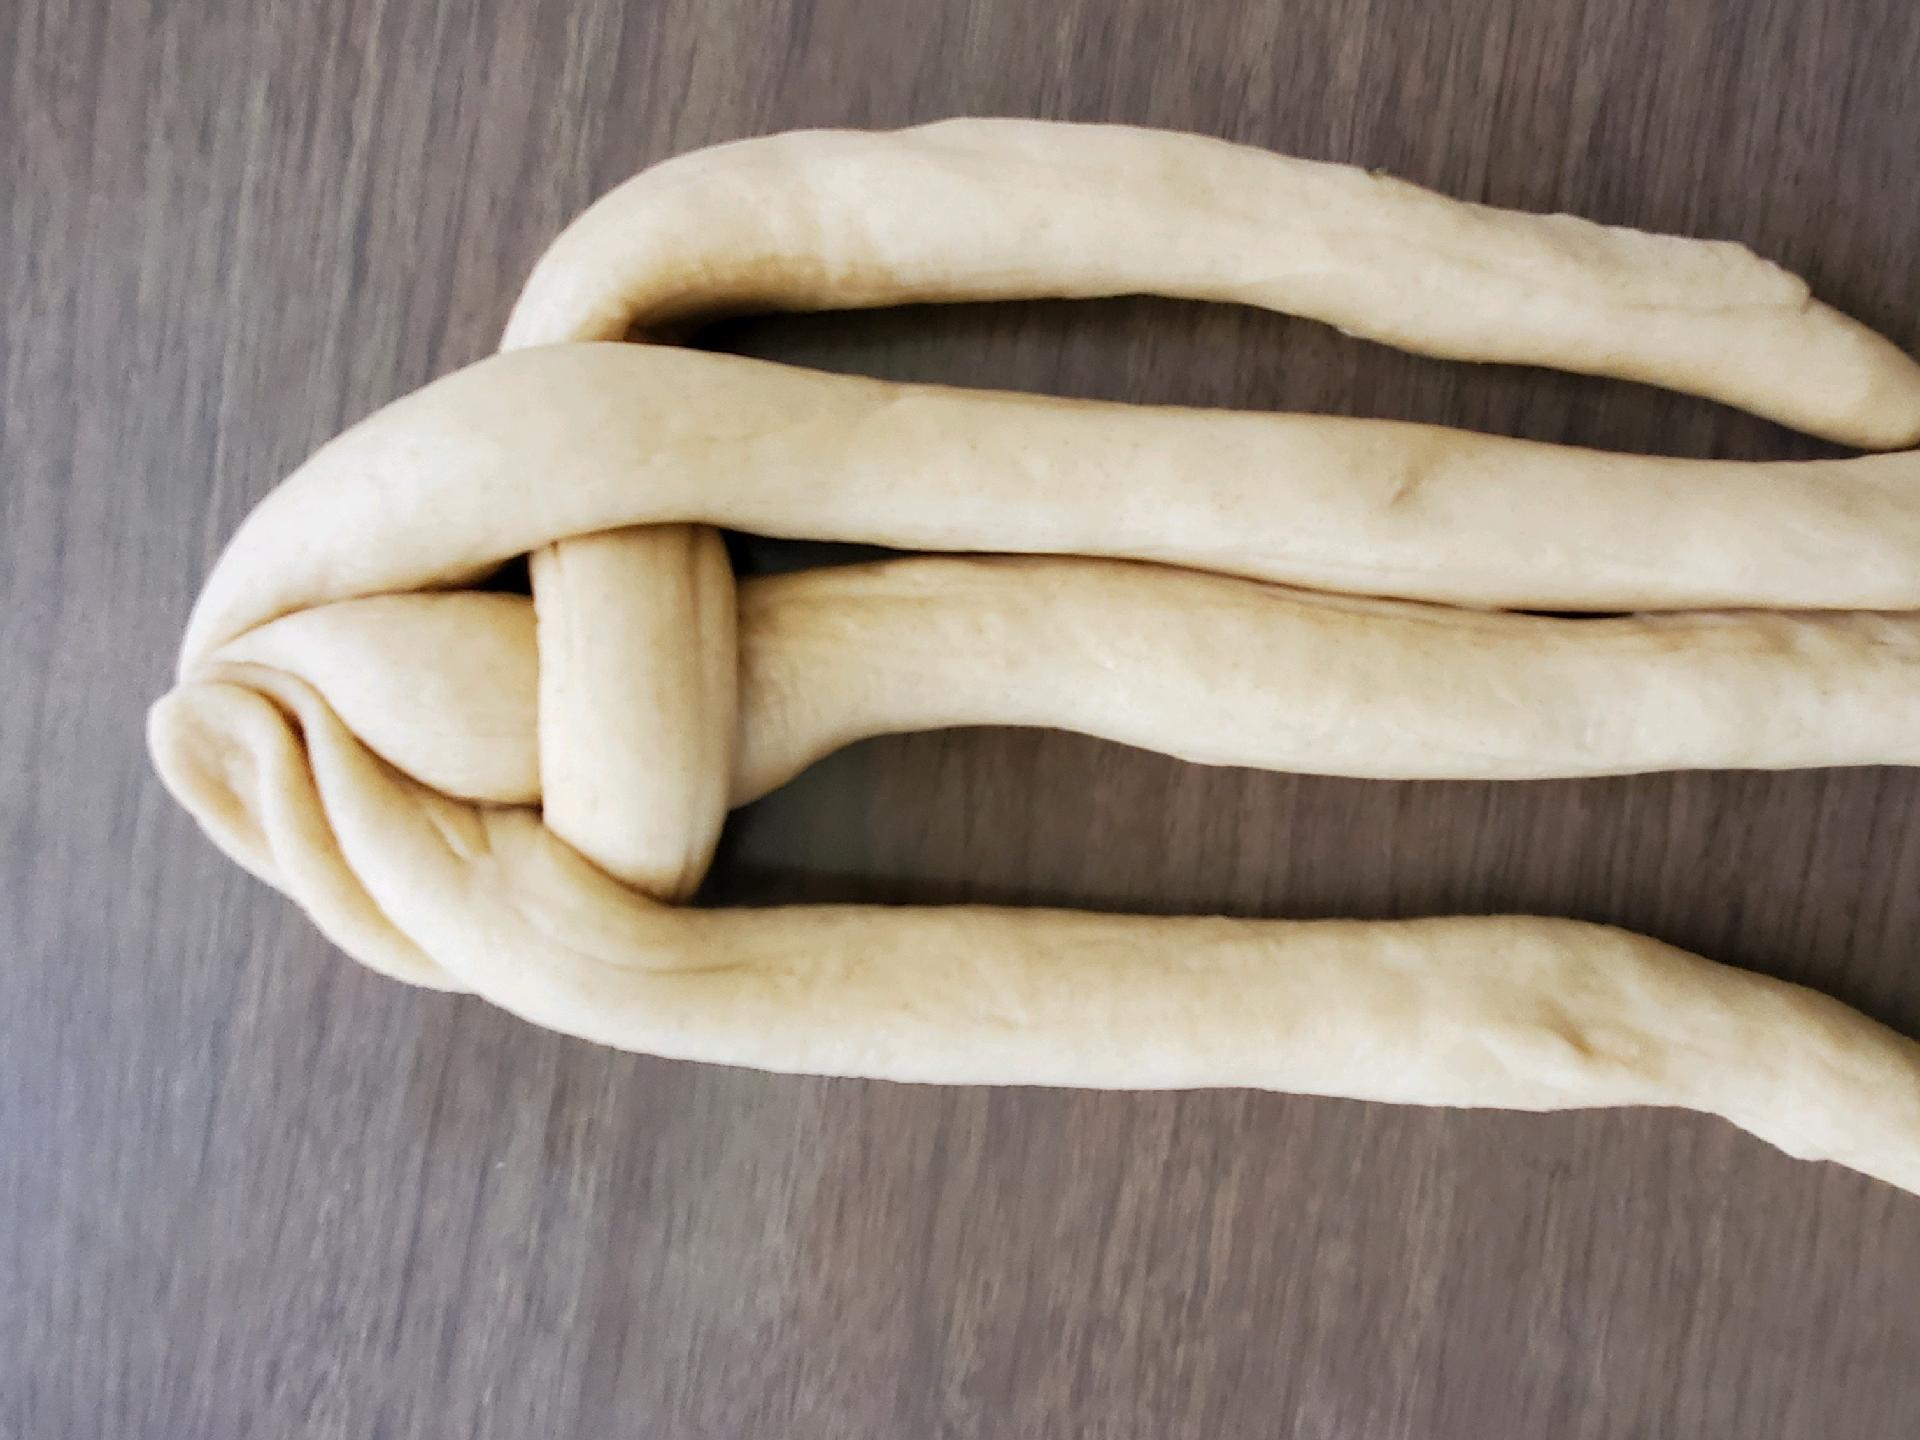
Shape the dough – a braid is traditional. I like a four or six strand braid. There are a gazillion ways to shape challah; check Youtube or let me know if you want to talk about this more. Place loaves on a parchment paper covered baking sheet. Cover shaped challah with the damp towel and let rest for 30 minutes more.
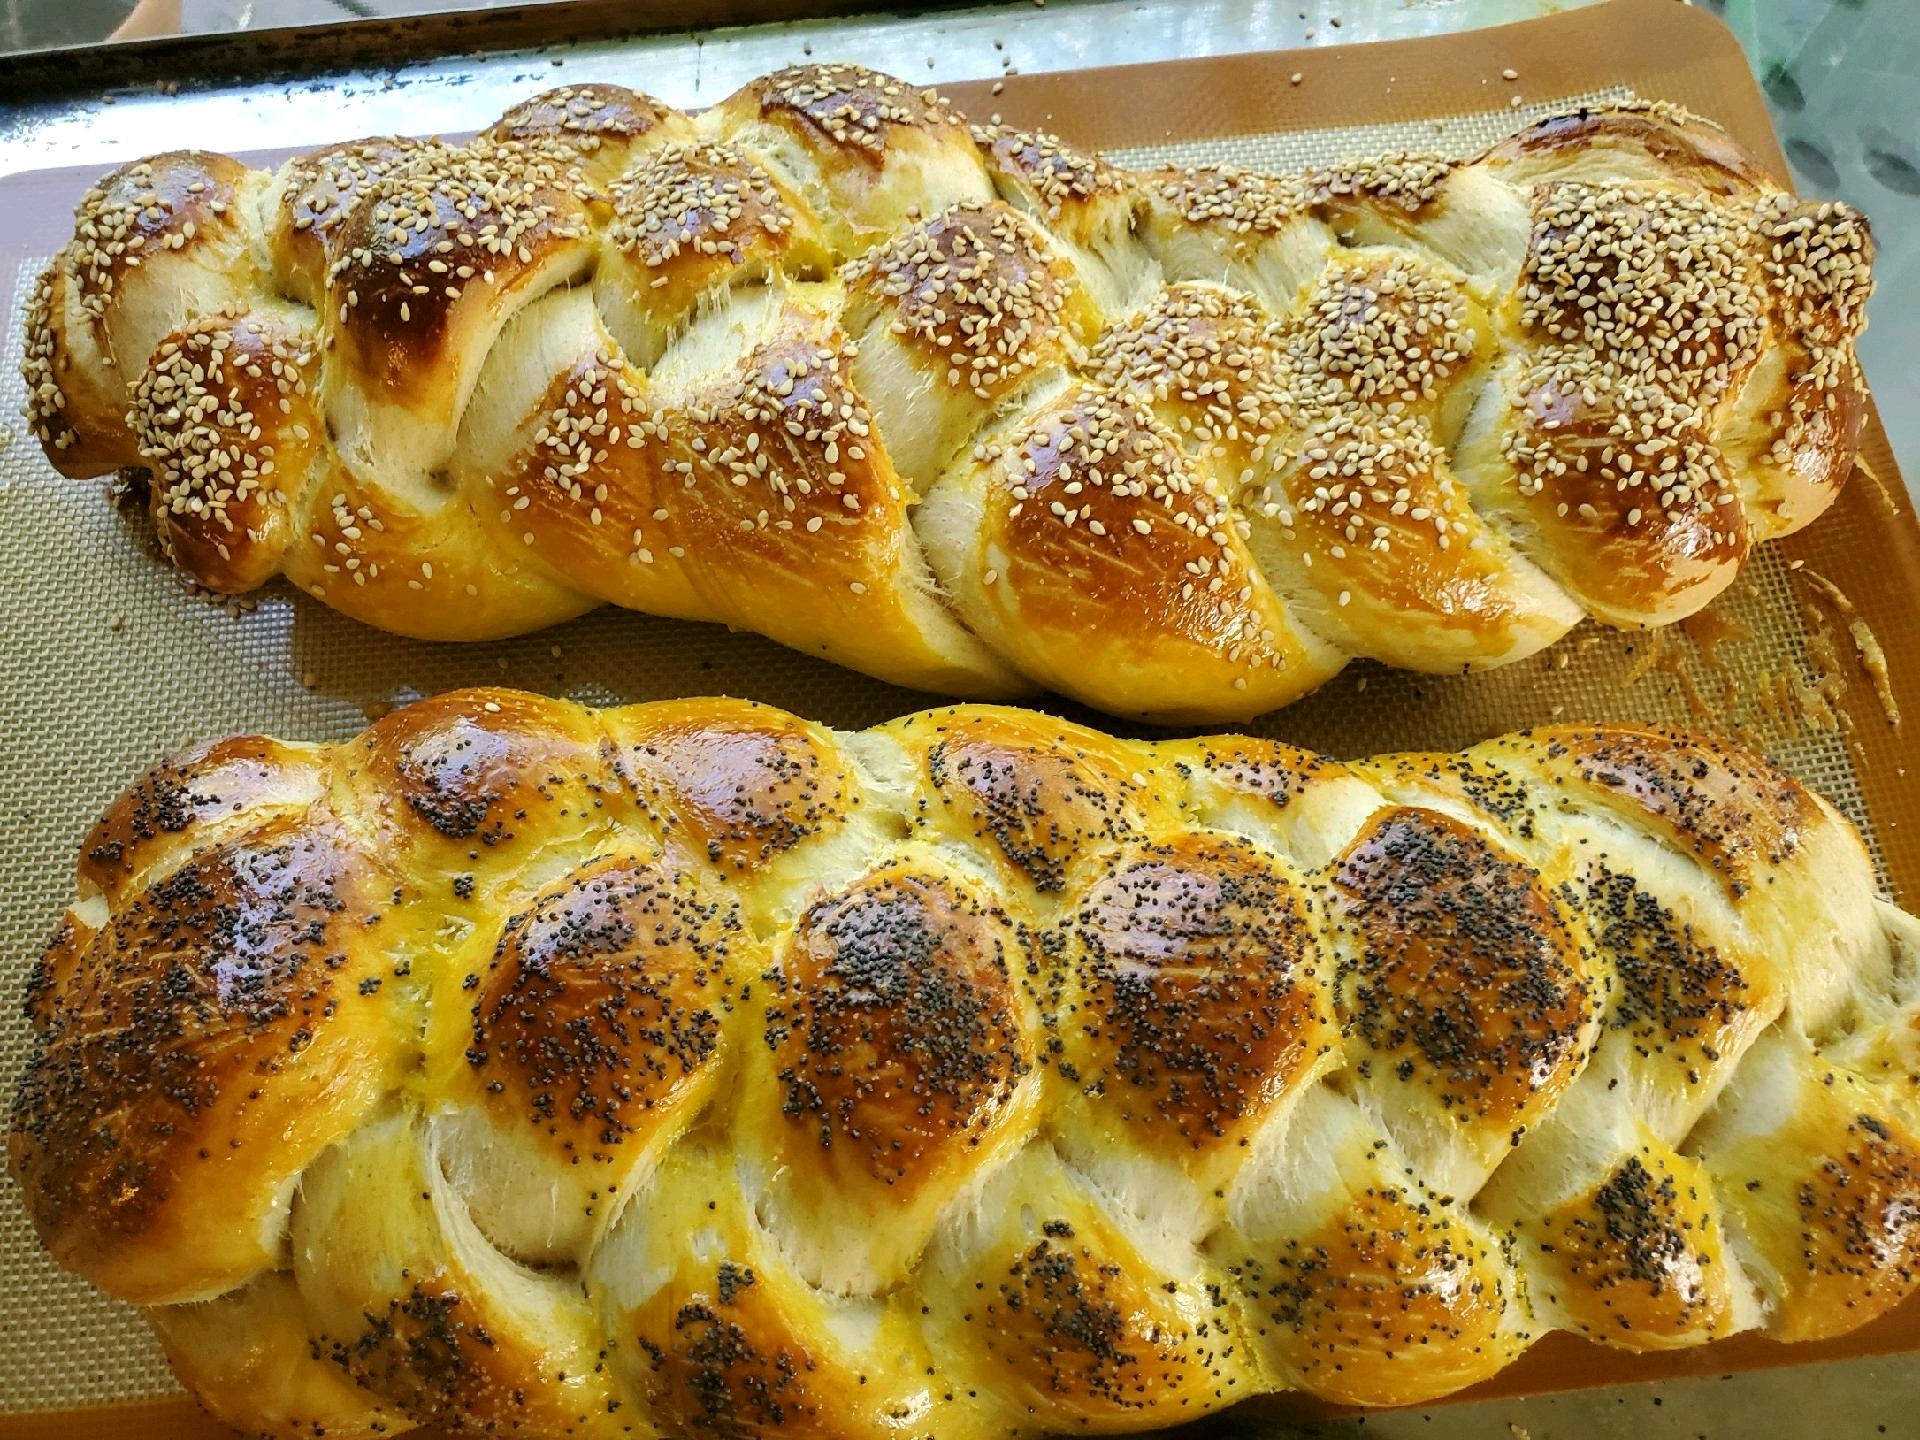
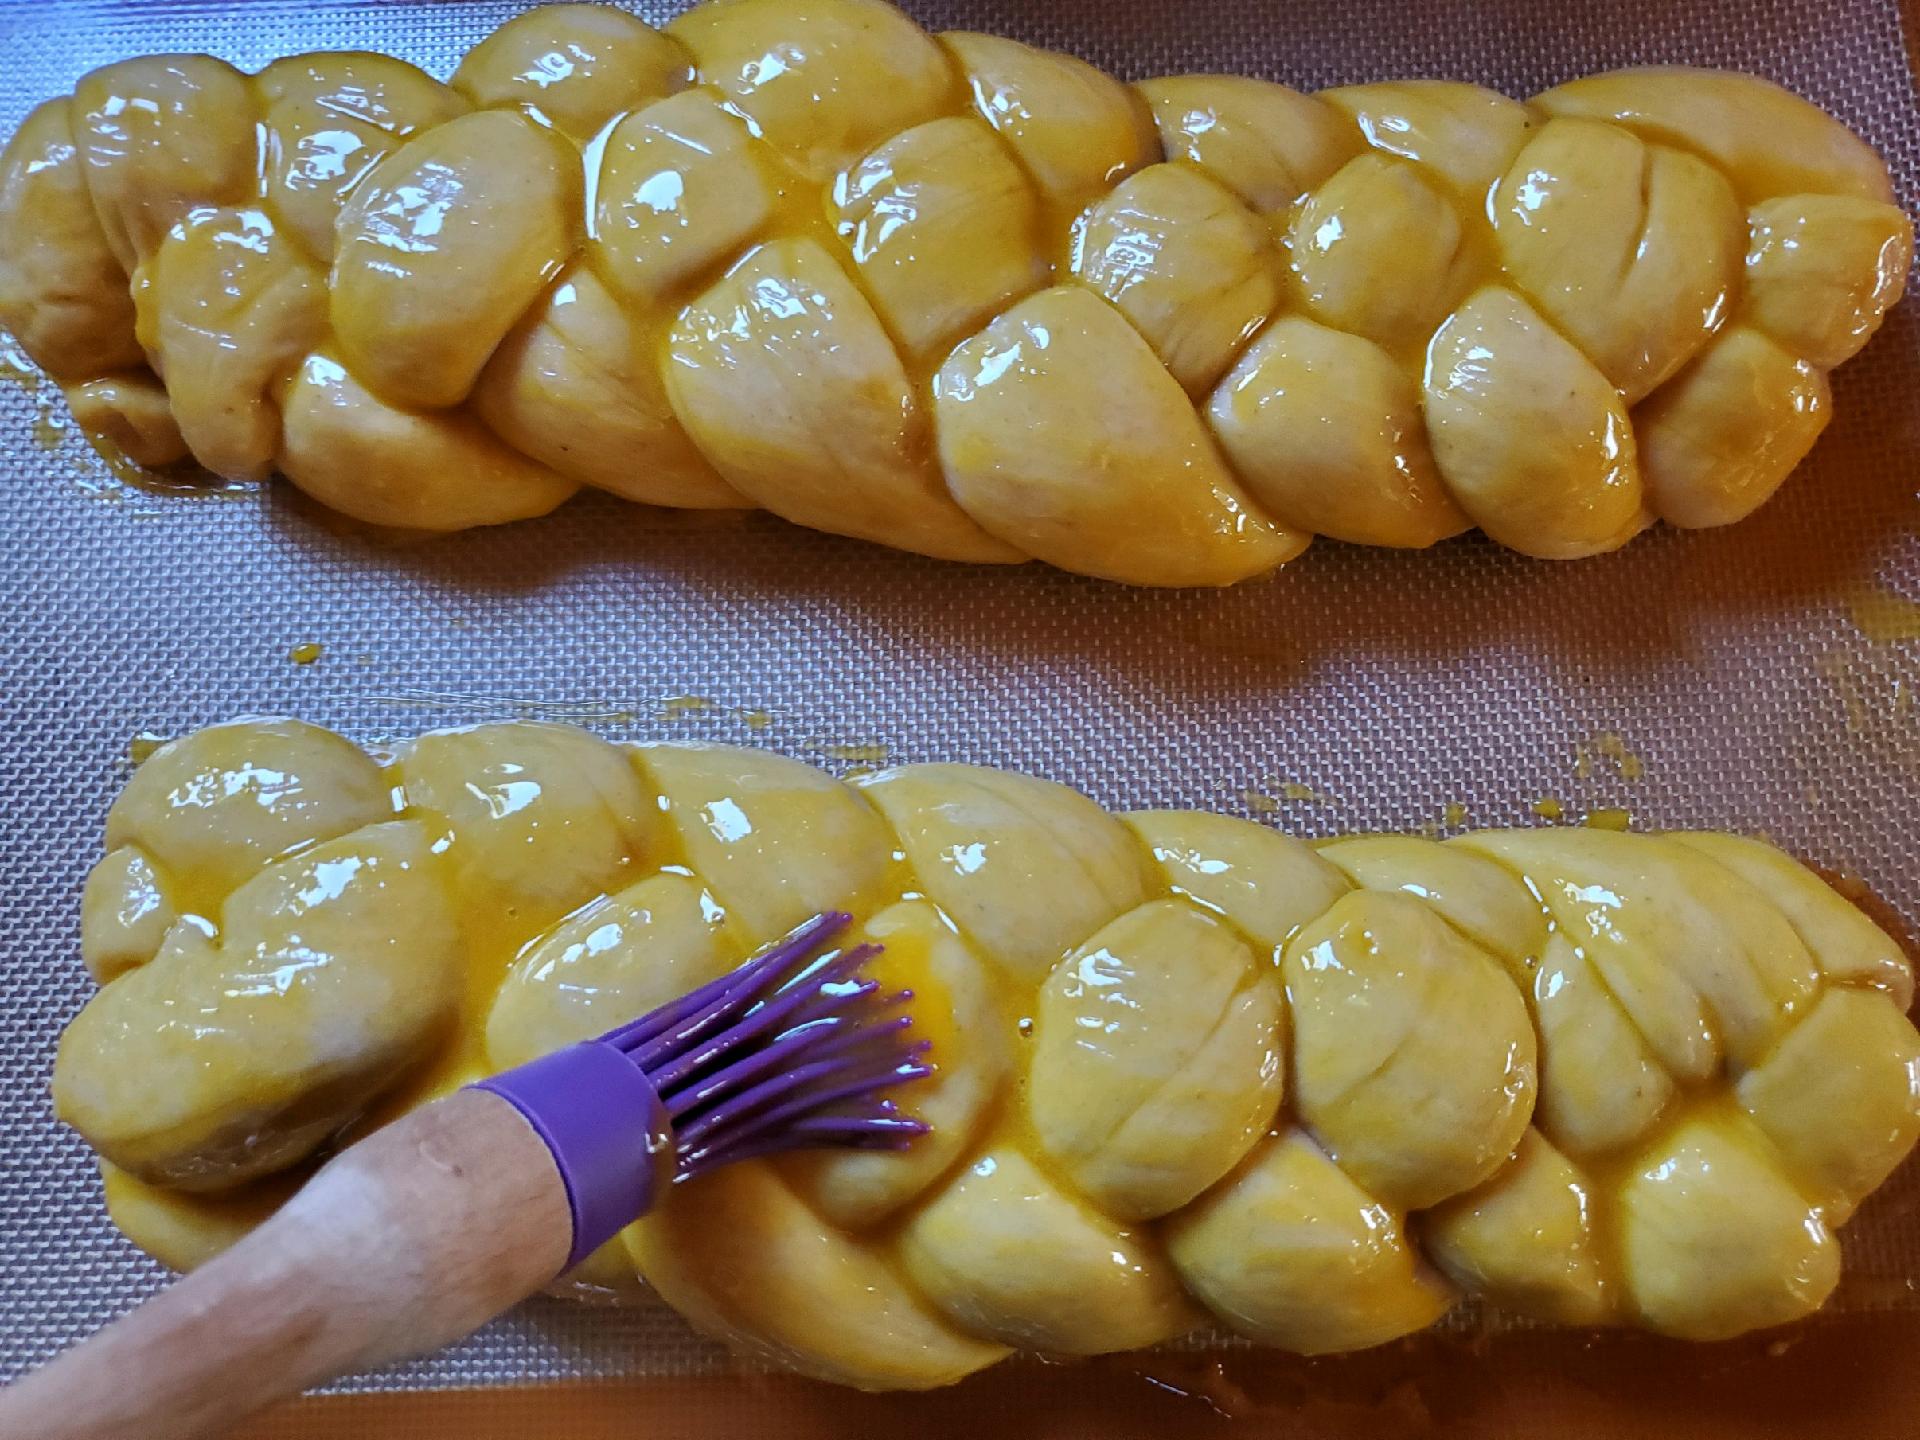
Brush loaves with a yolk-only wash, then sprinkle with sesame or poppy seeds or both.
Bake at 325 for 25-35 minutes. Loaves are done when the smell and look are right.
Fred Feinberg is the star Challah baker at AARC’s religious school, Beit Sefer. Fred says his home-baked Challah is the only bread his son will eat, so he makes it weekly!


For two loaves or one very large one:
1.5 cups slightly warm water
5 large egg yolks
1.5 teaspoons salt
1/3 – 1/2 cup oil (best: a mixture, up to half olive oil)
5.5 – 6 cups bread flour (depending on how dry your flour is; start with less and add more if it’s too sticky
1/3 – 1/2 cup sugar (best: mostly or entirely brown sugar, with a little honey if you like that)
2.5 – 3 teaspoons active dry yeast (less gives a slower rise, which gives better results, but takes longer)
whites from eggs for brushing
Directions:
Mix water and sugar, then mix with egg yolks lightly. Then add oil (and stir just a bit at most). Put about four cups of the flour on top, then yeast, then mix a bit. Then put remaining flour, mixed with the salt, on top, and mix that in.
Knead for 10-15 minutes or, if you are sane, use a KitchenAid or bread machine. For KitchenAid, use the lowest setting. Do 1-2 minutes, then 1-2 minutes off, then on, for about 10-15 mins total. It is FINE to knead by hand for a minute, then rest 2 minutes, etc., for 4-5 cycles in total, so long as the dough is elastic: not sticky/wet, not very dry.
Cover, leave in a warm place for an hour, then punch down.
Divide in two. Shape each piece into a long rectangle, then slice each into three thinnish slices of about the same weight (a scale helps).
Roll out, then braid three ropes for each challah loaf. It doesn’t need to be perfect. [Large challah: six braids; watch a youtube video on how.]
Put on parchment paper, then into a loaf pan. Let sit and rise, covered with a towel, for another hour, or until the bread is just above the height of the loaf pan.
Brush liberally with the egg whites, mixed with a tiny bit of water and, if you like, some salt.
Put both in oven and bake in a preheated oven at 350-375 (make sure oven is below 400, though) for 30-32 minutes or so,* until the top is brown. Don’t overbake it! Top should be nice darkish brown, but not even slightly burnt; judge based on your oven, and cook a bit longer if the temperature is lower. [If making one large challah, do at least 32 minutes up to 35, depending on oven temperature.]
Either take out immediately or shut off oven and open door for 5 minutes or so. Let rest in pans for a while, maybe 10 minutes total. Then take out and put on rack to cool.
Take photos and put on Facebook!
Our last baker is – me (Gillian)!
Challah was the first bread that I learned how to make. Making good bread requires an understanding of the texture of a finished dough, and I found that learning this tactile sensation was easiest with Challah. Perhaps it was the generations of Challah baking coursing through my veins? My foolproof recipe comes from the book, Secrets of a Jewish Baker, by George Greenstein. My one tip for all you new Challah bakers: set up wine glasses around your loaves for the second rise, draping your tea towel over the glasses. This helps prevent your towel from sticking to the egg wash.


If you would like to watch a Challah-making video before you embark on your own baking adventure, Keshet is hosting a “Rainbow Challah Baking” class. The class takes place on Thursday, June 11th, at 4pm EDT. RSVP here.
Happy baking!


 This year, I helped Morah Sharon Alvandi with the Beit Sefer G’dolim class. The class had eight kids, ages 10-12. We did a lot of things over the year: learning about Jewish communal responsibilities and communities around the world, improving Hebrew skills, and mastering the core Shabbat morning prayers.

